
Have you ever stopped to truly watch a sunset, feeling its gentle colors wash over the sky? That, you know, feeling of peace and wonder is something many of us cherish. The way the sun dips below the edge of the world, painting the clouds in fiery oranges, soft pinks, and deep purples, is a sight to behold. It is a moment that calls for us to pause, to breathe, and to simply take it all in. This natural display, quite honestly, offers endless inspiration for anyone who loves to create.
Think about the changing light, the way the sky shifts from bright daytime hues to those rich, warm tones as the day ends. For instance, in places like Canton, Georgia, the sunset times change throughout the year, and even by a minute or so each day, as a matter of fact, like how the day length shortens by about 32 minutes over July. This constant change means every sunset is a unique show, offering a fresh chance to see something new. And for artists, especially those working with oil pastels, these moments are just waiting to be captured.
Oil pastels, with their creamy texture and bright pigments, are a really wonderful choice for bringing the magic of a sunset to life on paper. They blend so beautifully, allowing you to create those soft transitions and vibrant streaks of color that define a perfect sundown scene. You can, you know, truly feel the colors as you apply them, making the process itself a bit of a calming experience. This guide will walk you through how to use these lovely tools to create your very own sunset masterpieces, even if you are just starting out.
Table of Contents
- Why Sunset Oil Pastel?
- Getting Started with Your Oil Pastels
- Observing the Sky for Inspiration
- Step-by-Step: Creating Your Sunset
- Common Questions About Sunset Oil Pastels
- Making Your Sunset Art Last
- Your Next Artistic Adventure
Why Sunset Oil Pastel?
There is something truly special about a sunset, isn't there? It marks the end of a day, a quiet moment before night takes hold. For many, it brings a sense of calm or a chance to reflect. When you try to put that feeling onto paper, especially with oil pastels, you get to really connect with that moment. Oil pastels are, arguably, perfect for this because they let you build up color in layers, creating that rich, deep look of a sky that is just full of light and shadow.
The very nature of a sunset, where the sun disappears below the horizon due to the Earth's turning, means the light changes quickly. This makes it a fascinating subject for art. You can, for instance, capture those fleeting moments, the way the light looks just as the sun goes down, or even the subtle colors of civil twilight, when the sky still holds a bit of light after the sun is gone. This medium, you know, lets you play with those transitions in a way that feels very natural and flowing.
Getting Started with Your Oil Pastels
Beginning any new creative pursuit is always a bit exciting, isn't it? For sunset oil pastel art, getting your supplies ready is the first step. You do not need a lot to start, which is pretty nice. Just a few key items will help you begin your artistic journey, and honestly, you might already have some of them lying around.
Essential Supplies
First off, you will need a set of oil pastels. You can find these in various sizes and brands, and for a beginner, a student-grade set is perfectly fine. They offer a good range of colors without being too costly. Next, you will want some paper. Heavier paper, like drawing paper or even watercolor paper, works best because oil pastels have a bit of an oily texture, and thinner paper might not hold up as well. Something with a little tooth, or texture, to it will help the pastels grip the surface, too it's almost. You could also use a blending tool, like paper stumps or even your fingers, for smoothing out colors.
A simple kneaded eraser can be quite useful for lifting color or cleaning up edges. And perhaps a cloth or paper towel to wipe your pastels clean or to protect your work surface. That is pretty much all you need to get started. You do not need anything fancy to create something beautiful, which is, you know, a very liberating thought when you are just learning.
Choosing Your Colors
For a sunset, the colors are, arguably, the most important part. You will want a good range of warm tones: yellows, oranges, and reds. Think about the fiery core of the sun as it sets. Then, you will need some cooler colors for the sky above and around the sun: blues, purples, and even some deep pinks. Sometimes, a touch of white or a very pale yellow can help create highlights or that soft glow near the horizon.
Consider the different phases of a sunset, too. Just before the sun dips, the sky might be a vibrant orange. As it goes down, deep reds and purples appear. And then, as the last light fades, you might see subtle greens or blues at the very top of the sky. Having a variety of these shades will allow you to capture the full story of the sun's departure. You can, for example, look at photos of sunsets or even observe one in person to get a better idea of the specific colors you might want to use.
Observing the Sky for Inspiration
To truly capture a sunset, you really need to observe it. Take a moment to watch the sky as the sun begins to set. Notice how the colors change, not just from one end of the sky to the other, but also as time passes. In Canton, Georgia, for instance, the sunrise and sunset times are precisely calculated, and you can even find calendars for them. This kind of information, you know, helps you understand the sun's path and how the light behaves.
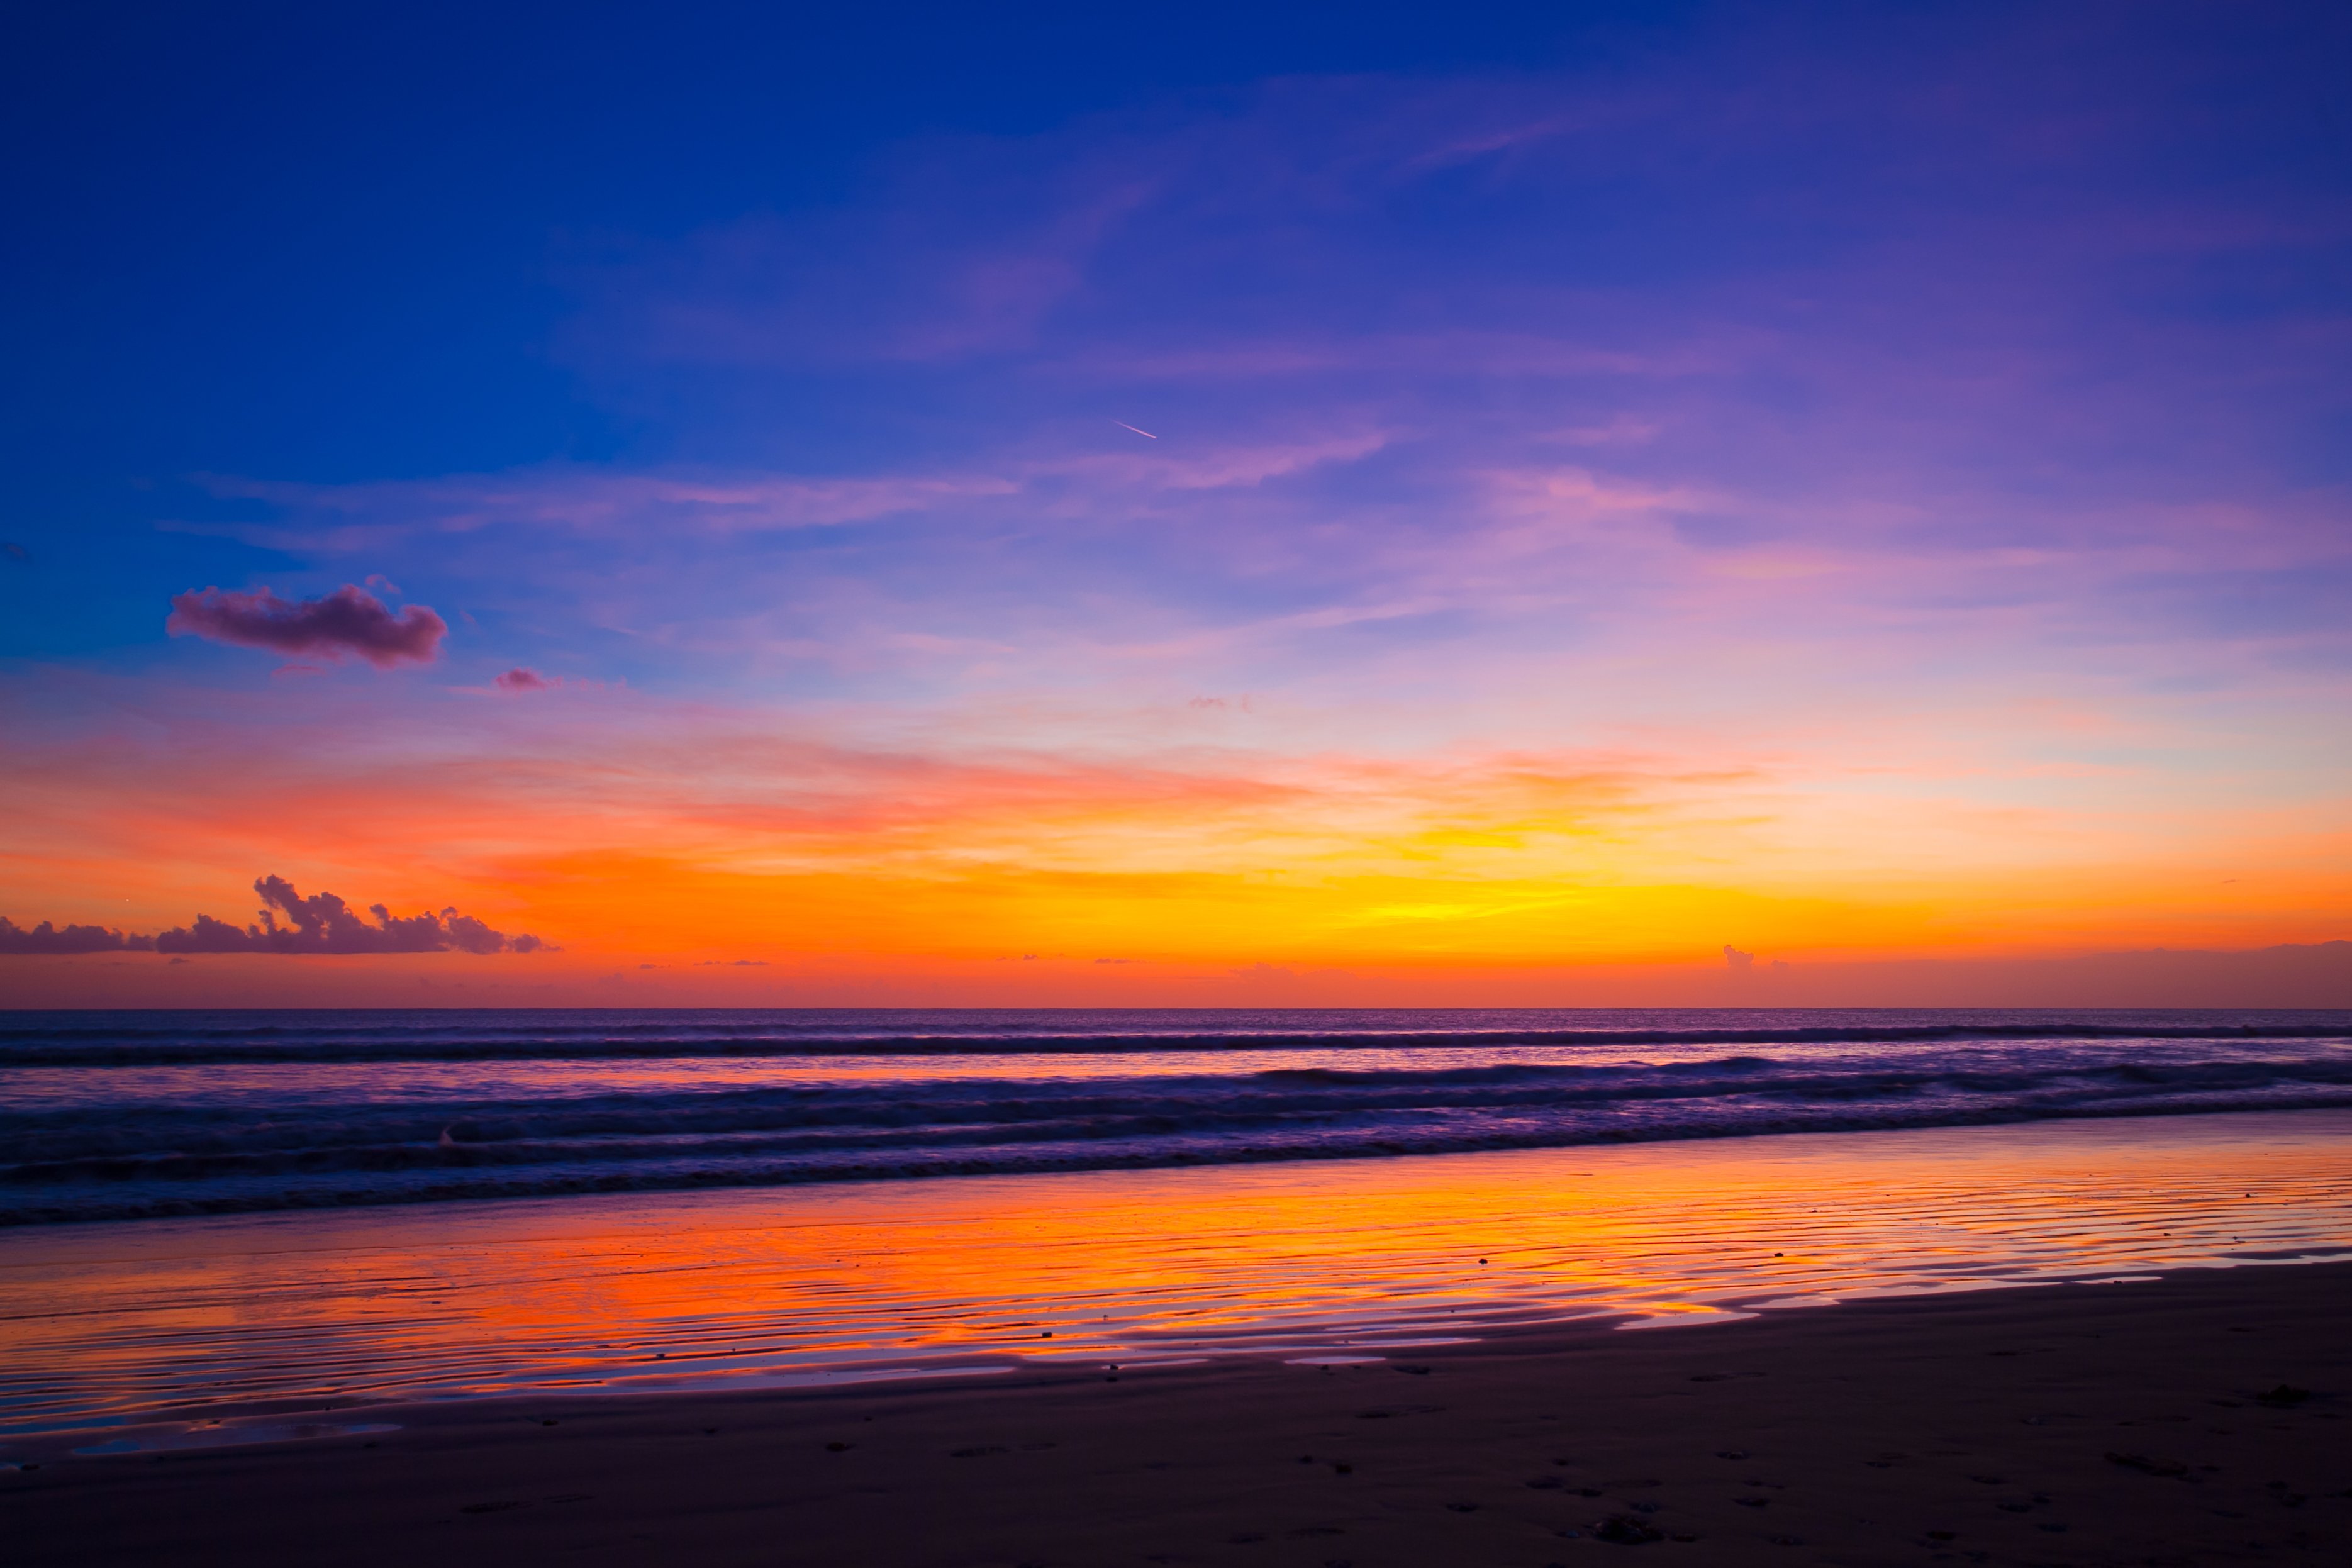
Pay attention to the clouds. Are they wispy and high, catching the light in soft ways? Or are they heavy and dark, creating dramatic silhouettes? Sometimes, a mix of clouds and sun, perhaps with winds at 10 to 20 mph, can create some truly stunning effects. The way clouds catch the light can add so much interest and depth to your art. You might also notice how the light affects the things on the ground, making them appear as dark shapes against the bright sky. This observation is, honestly, your best teacher for creating a convincing sunset scene.
Step-by-Step: Creating Your Sunset
Now, for the fun part: putting pastel to paper! Creating a sunset with oil pastels is a process of building up color and blending. It is not about getting it perfect right away, but rather about enjoying the layers and seeing how the colors interact. So, let us get started, shall we? You will find this process quite rewarding, I think.
Layering the Light
Begin by laying down your lightest colors first. Think about where the sun is or where its brightest glow would be. This might be a pale yellow or even white right at the horizon. Then, gently add your next lightest colors, perhaps a soft orange or a light peach, working outwards from the center of your light source. You are basically building a gradient, moving from light to slightly darker shades. Remember to apply the pastels with a light touch at first. You can always add more pressure for more color, but taking color away is a bit harder.
As you move further away from the sun's brightest spot, start introducing your warmer reds and deeper oranges. Then, as you reach the upper parts of the sky, bring in your blues and purples. It is almost like painting with crayons, but the creaminess of oil pastels makes it easier to get smooth transitions. Think about how the day length might influence the overall light, too, as it shortens or lengthens throughout the year, just like we see in Canton, Georgia. This will give your sky a natural feel, you know.
Blending for Smoothness
Blending is where the magic really happens with oil pastels, especially for sunsets. Once you have laid down your colors, you can use your finger, a paper stump, or even a soft cloth to gently rub the colors together. Start with the lightest areas and work your way into the darker ones to avoid muddying your colors. The goal is to create seamless transitions, making the sky look soft and natural, just like a real sunset. You can also layer one color over another and then blend them, which creates new shades and deeper tones.
Do not be afraid to experiment with different blending tools. Some people prefer the warmth of their finger to melt the pastels together, while others like the precision of a paper stump. You might find that for some areas, a light touch is all you need, while for others, a bit more pressure helps to really meld the colors. It is, you know, all about finding what feels right for you and your art. This part of the process is very satisfying, honestly.
Adding Details and Depth
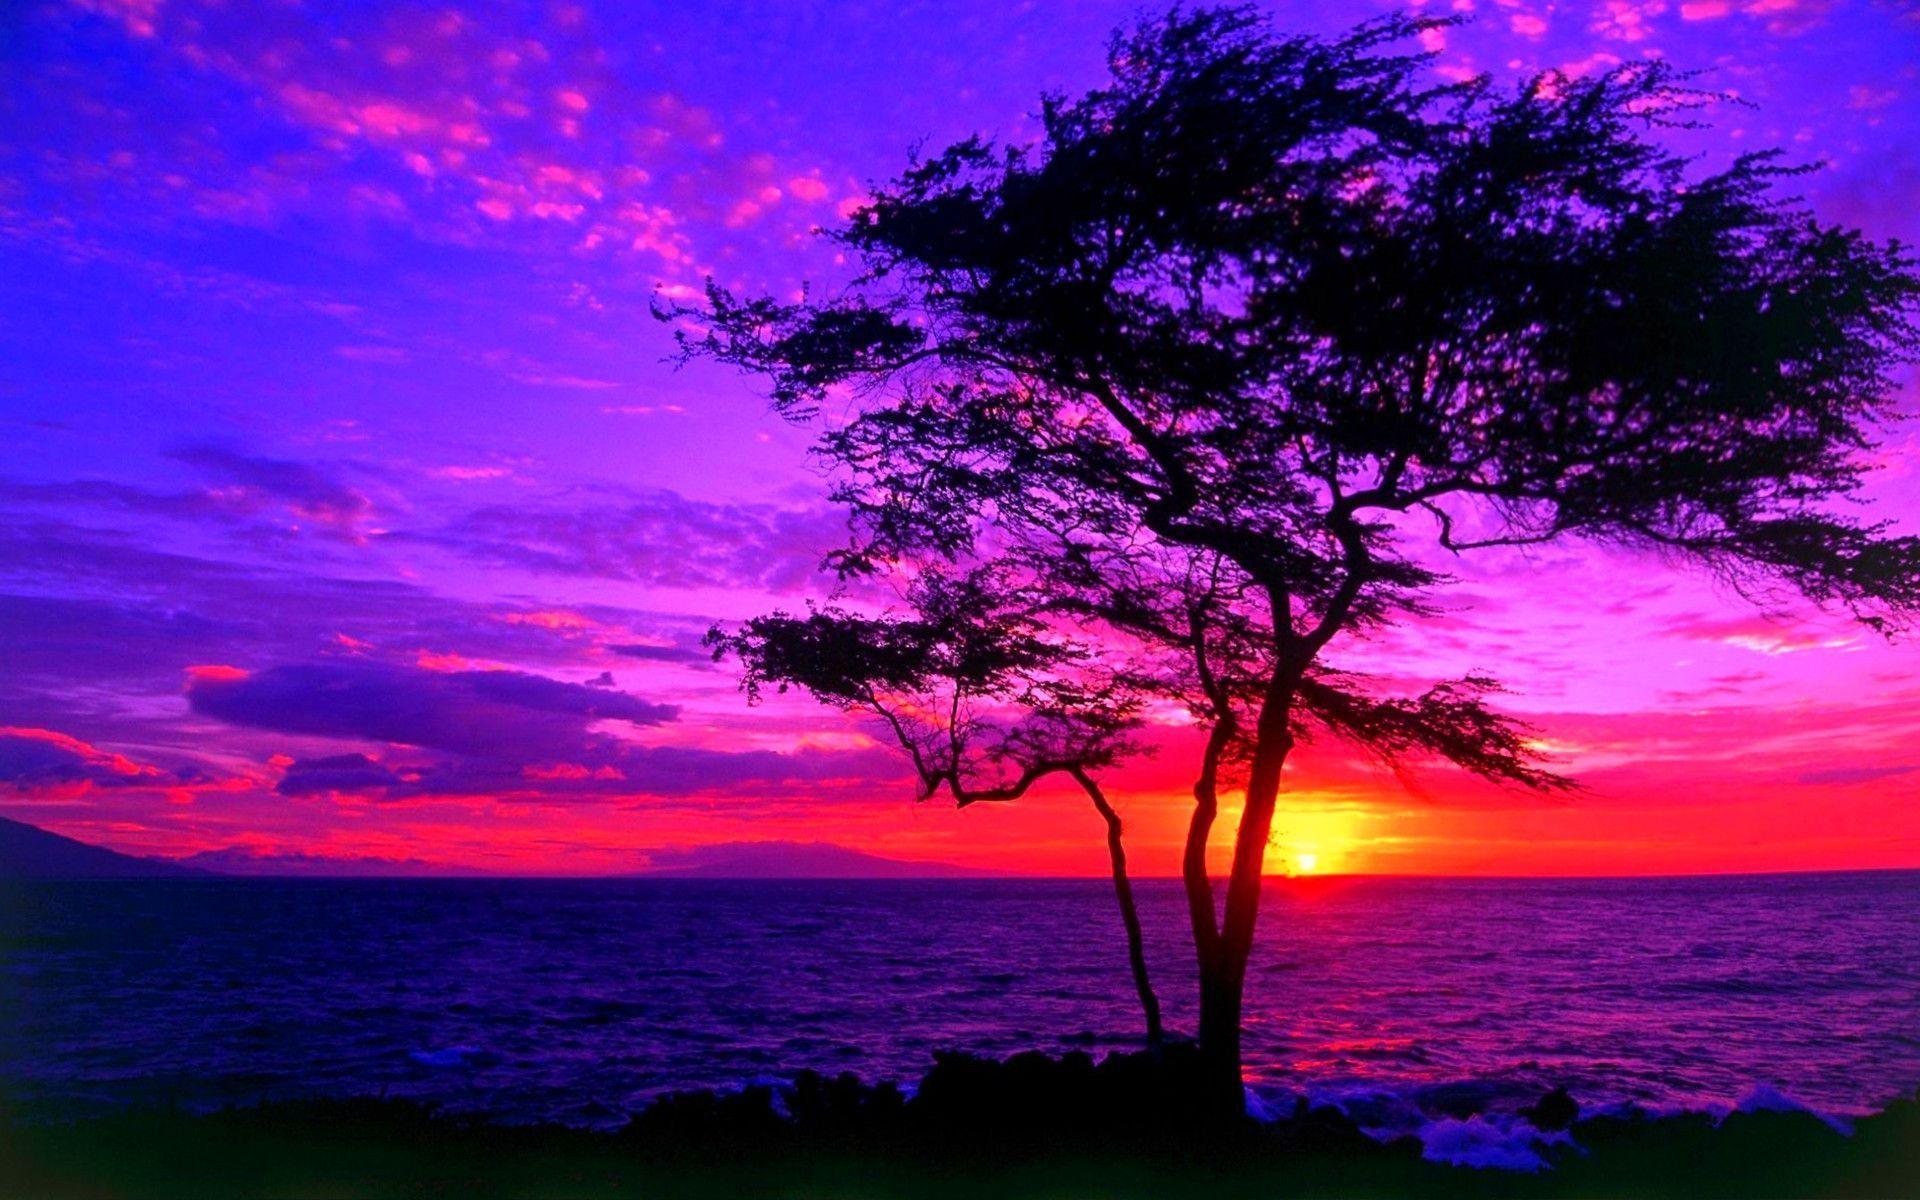
Once your sky is blended, you can start adding details to give your sunset depth and character. This is where you might add clouds, for example. Use a darker pastel, like a deep purple or even a dark blue, to sketch in the shapes of clouds against the bright sky. You can then blend the edges of these clouds slightly to make them look soft and natural. If you want to show the sun itself, a bright yellow or white circle at the horizon can be quite striking.
Consider adding a silhouette in the foreground. This could be trees, hills, or even a simple skyline. Use a very dark color, like black or a deep navy, and apply it solidly to create a strong contrast against the bright sky. This helps to ground your picture and gives the viewer a sense of perspective. Remember how the sun's position changes, like how it is directly overhead at certain times? This affects shadows and light, so, you know, think about where your light source is coming from. A well-placed silhouette can really make your sunset pop, pretty much.
Common Questions About Sunset Oil Pastels
People often have questions when they are starting out with a new art form. It is perfectly normal to wonder about things, especially when you are trying to capture something as grand as a sunset. Here are a few common thoughts that might come up as you work with oil pastels for your sunset scenes.
How do I keep my oil pastel art from smudging?
Oil pastels, by their nature, are a bit soft and can smudge easily. To protect your finished artwork, you can use a fixative spray specifically made for pastels. You spray it lightly over your drawing, and it creates a protective layer. You can also place a piece of glassine paper, which is a smooth, translucent paper, over your artwork if you are storing it in a portfolio. This will help keep the colors from transferring to other surfaces, you know, and keep your art looking fresh.
Can I use oil pastels on different types of paper?
Yes, you can! While heavier paper with some texture is often recommended, you can experiment with different surfaces. Some artists like working on sanded pastel paper, which has a rougher surface that holds more pigment. Others enjoy the challenge of working on smooth paper, though it can be harder to layer and blend. You could even try drawing on wood or canvas once you feel more comfortable. It is really about finding what you like best, and what works for your particular style, pretty much.
What is the best way to clean my oil pastels?
Oil pastels can pick up colors from each other, especially if you are blending. To keep them clean, you can wipe them with a soft cloth or a paper towel. If a pastel stick gets very dirty or has a lot of another color on it, you can gently scrape off the outer layer with a craft knife, but be careful! Keeping your pastels clean helps ensure your colors stay bright and true when you apply them to your artwork. It is a small step that makes a big difference, honestly.
Making Your Sunset Art Last
Once you have finished your beautiful sunset oil pastel piece, you will want to make sure it stays looking its best for a long time. Oil pastels are a permanent medium, but they do need a little care. As mentioned, a fixative spray is a good idea. This helps to set the pigments and prevents smudging. Make sure to use it in a well-ventilated area, and follow the directions on the can very carefully.
Storing your artwork properly is also important. If you are not framing it, keep your oil pastel drawings flat, perhaps in a portfolio, with a sheet of glassine or even tracing paper placed over the surface of each piece. This stops the colors from rubbing off onto other drawings. Displaying your art away from direct sunlight will also help preserve the colors over time. Just like the sun's path and its effects on light are constantly changing, as a matter of fact, protecting your art ensures its beauty lasts.
Your Next Artistic Adventure
Creating a sunset with oil pastels is a truly rewarding experience. It lets you connect with nature's beauty and express it in your own unique way. Remember, every sunset is different, influenced by factors like the time of year, the weather – cloudy with occasional rain showers, for instance – and even your location, like Canton, Georgia. This means you have endless inspiration right outside your window, pretty much.
Do not be afraid to experiment with colors, blending techniques, and adding your own personal touches. The more you practice, the more comfortable you will become with the medium, and the more stunning your sunsets will be. So, grab your pastels, find a quiet spot, and let the beauty of the setting sun inspire your next masterpiece. You can learn more about art techniques on our site, and even link to this page for more drawing ideas. For additional inspiration, consider exploring how other artists capture natural light; a quick search for "famous landscape paintings" can be a good starting point for that, you know.

Detail Author:
- Name : Maye Lockman
- Username : schumm.alessandra
- Email : odie80@huels.com
- Birthdate : 1976-02-21
- Address : 1464 Evalyn Drive Suite 274 Mrazton, DC 13589
- Phone : (754) 264-6339
- Company : Hintz, Sanford and Friesen
- Job : Telephone Station Installer and Repairer
- Bio : Aperiam ea labore totam sit magni omnis. Unde aut asperiores est doloribus qui et et. Quae unde nihil in voluptatum atque eveniet quo.
Socials
linkedin:
- url : https://linkedin.com/in/hassan.deckow
- username : hassan.deckow
- bio : Eligendi enim modi totam id itaque omnis natus.
- followers : 3257
- following : 1898
instagram:
- url : https://instagram.com/hassan.deckow
- username : hassan.deckow
- bio : Illo blanditiis nisi repellendus voluptatem sit. Et eligendi rerum rerum sed dolores et.
- followers : 4617
- following : 615
tiktok:
- url : https://tiktok.com/@hassan6343
- username : hassan6343
- bio : Quia quia est rerum impedit eius.
- followers : 5056
- following : 2380
twitter:
- url : https://twitter.com/hassandeckow
- username : hassandeckow
- bio : Facilis architecto quas est voluptas. Ipsa tempora est ullam qui eos. Enim omnis quae et non est numquam. Repellendus possimus natus facere explicabo dolor.
- followers : 6136
- following : 1489
facebook:
- url : https://facebook.com/deckow1979
- username : deckow1979
- bio : Eaque tempora sit non totam expedita illum. Id reiciendis rerum omnis culpa.
- followers : 6339
- following : 380
